



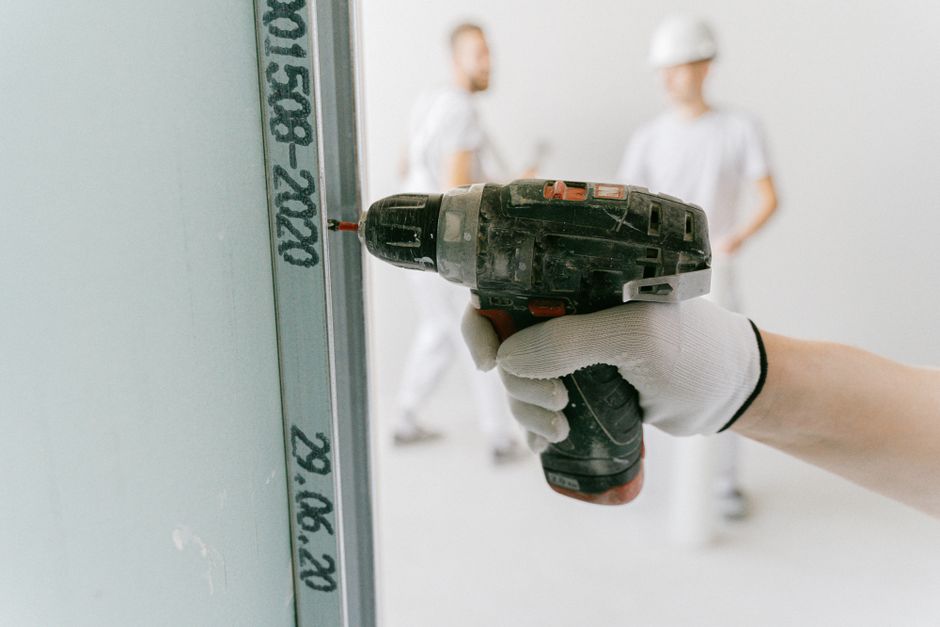
Most drywall problems homeowners notice months later, popped screws, wavy seams, cracked corners, trace back to a handful of installation shortcuts. Correct fastener spacing, board selection by room, and full mud cure time before painting prevent nearly all of them.
A drywall job can look finished the day the painters leave and still be wrong underneath. The mistakes that matter most are the ones nobody sees at handoff: screws driven at the wrong depth, boards hung on the wrong stud spacing, or mud rushed to dry before it was ready. None of these show up on a walkthrough. They show up two, six, or eighteen months later as cracks, pops, and soft spots, and by then the fix costs more than the original job would have if it had been done right. Here’s what actually goes wrong on a bad drywall install and how to spot it before you’re the one paying to redo it.
Fastener Spacing That Doesn’t Match the Framing
Screws set at random intervals, or spaced too far apart for the stud layout behind them, are the single most common cause of sagging drywall and visible nail pops. Building code (IRC R702.3.5) calls for screws no more than 16 inches apart on walls when studs are on 16-inch centers, tightening to 12 inches on center if the framing is on 24-inch centers, and no more than 8 inches apart along every joint and edge. Crews working fast, or working off a stud layout they never verified, will space fasteners by eye instead of by the actual framing underneath. The board holds for a while. Then a temperature swing or a door slam works the loose spots free, and a row of small dimples appears along the wall exactly where a stud was missed.
You can check this yourself with a stud finder and a flashlight held at a low angle across the wall. Screws that trace a straight, even line every 12 to 16 inches mean the crew followed the framing. Screws that wander or cluster mean they didn’t.
Fastener Depth: Dimpled vs. Blown Through
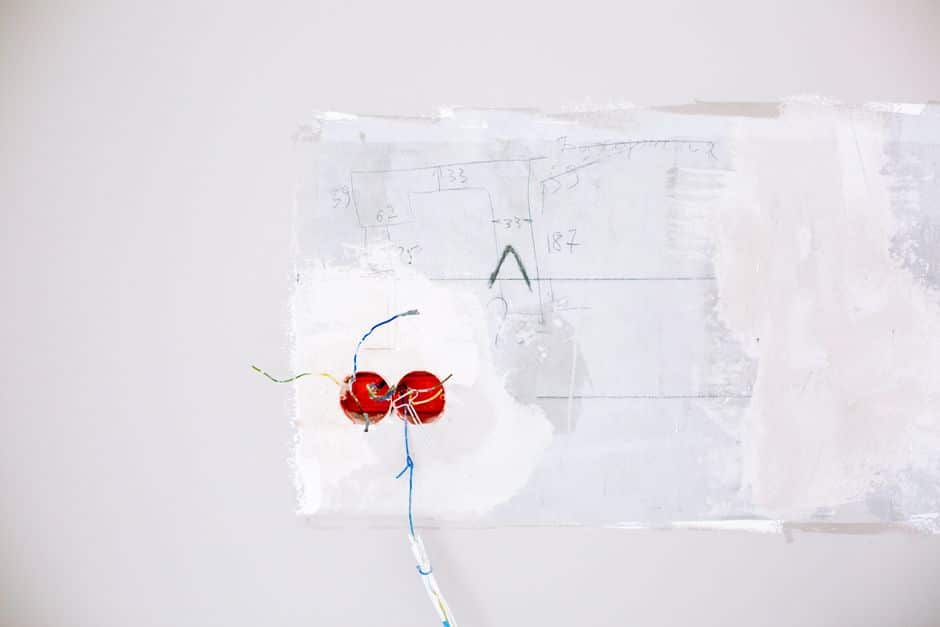
A drywall screw is supposed to sit in a shallow dimple that just breaks the paper surface, deep enough for mud to cover it, but not so deep that it tears through and loses its grip on the board. Set too shallow, the screw head sticks up and telegraphs through paint as a bump. Set too deep, the screw tears the paper and stops holding the board to the framing at all, even though it looks driven flush. A rushed crew running a screw gun on one fixed depth setting, instead of adjusting for board thickness and stud material, will blow through a percentage of fasteners on every sheet without ever going back to add replacements two inches away, which is the correct fix. Those failed fasteners are invisible until the board starts to separate from the wall.
Wrong Board for the Room
Standard drywall goes up fast and it’s cheap, which is exactly why it ends up in places it shouldn’t. Bathrooms, laundry rooms, and any wall near a tub or shower need moisture-resistant board at minimum, and areas with direct water exposure need cement board or a comparable backer instead. Using standard board in a high-moisture room doesn’t fail on day one. It fails slowly, the paper facing softens, mold gets a foothold behind the tile, and by the time it’s visible the repair usually means opening the wall. Garages that share a wall with living space, and any wall near a furnace, water heater, or fireplace, have their own fire-rated drywall requirements that a standard-board install simply doesn’t meet, regardless of how clean the tape job looks.
Seams Stacked Instead of Staggered
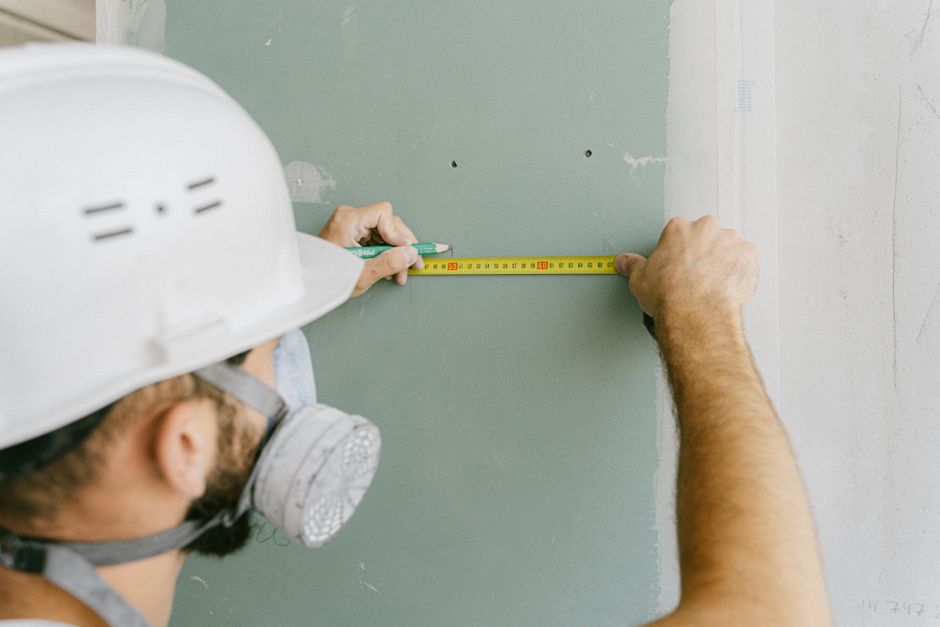
Every drywall sheet has a factory edge and a cut edge, and the seams between sheets are supposed to fall on framing and stagger from row to row, never lining up in a continuous vertical run. A stacked seam concentrates all the structural movement of the wall along one line instead of spreading it out, so that’s exactly where the first crack shows up, usually within a year of hanging, sometimes faster if the framing is new lumber that’s still drying and shrinking. It’s a layout mistake made before a single screw goes in, and it’s one of the fastest tells that a crew was hanging board by whatever piece was closest rather than by a plan.
Rushing the Mud Cure Before Painting
Joint compound needs real time to dry all the way through, not just on the surface, and skipping that wait is one of the most common ways a good taping job still ends up cracking. A thin coat needs at least 24 hours under normal conditions; thicker coats or humid rooms need 48 to 72 hours. In New Orleans, where relative humidity regularly sits well above the 20 to 40 percent range mud cures fastest in, that timeline stretches further, and a crew working on a fixed schedule instead of the room’s actual conditions will paint over compound that’s still damp underneath. The seam looks solid at handoff. Weeks later, as the last of the trapped moisture finally leaves, it shows up as a hairline crack or a soft spot right along the tape line, because the paint sealed the mud before it had a chance to finish drying.
Skipped or Shortcut Taping Coats
A proper taped joint gets three coats: the embedding coat that sets the tape, a fill coat that builds the seam out flat, and a finish coat that feathers it into the surrounding wall. Cutting that down to two coats, or feathering the final coat too narrow, saves a crew real time across a whole house, and it’s invisible under primer. It shows up later as a slightly raised or shadowed line at every seam once the wall is painted and lit at an angle, and it’s one of the more expensive things to fix after the fact because correcting it means reopening compound work on a wall that’s already painted.
What Does This Mean for Your Project?
None of these mistakes require exotic materials or unusual conditions. They’re all about whether a crew followed the framing, respected drying time, and matched the board to the room instead of grabbing whatever was on the truck. A proper drywall installation accounts for stud spacing, board type, and cure time as part of the plan, not as afterthoughts, and it’s a lot cheaper to get that right the first time than to reopen a finished wall to fix it. If a wall you’re standing in front of already shows nail pops, a wandering seam line, or a crack that keeps coming back after patching, that’s usually a sign the underlying install had one of these shortcuts baked in, not just an aging house.
If you’re seeing early warning signs like these, our drywall repair team can tell you whether it’s a surface patch or a framing-level fix. And if you’re planning new construction or a remodel across the region, from Metairie and Kenner out to Baton Rouge, Mandeville, and Slidell, see our full list of service areas to confirm we cover your project.
Frequently Asked Questions
How do I know if my drywall was installed correctly?
Look for an even screw pattern spaced roughly every 12 to 16 inches along a straight line, seams that stagger rather than stack in a continuous run, and a smooth, flat finish at every joint with no visible ridges or shadow lines under angled light. Nail pops, wavy seams, or cracks that return after patching usually point to a framing or fastener issue underneath.
Why do screws pop out of drywall months after installation?
Nail pops usually mean the fastener missed the stud, was set at the wrong depth, or was spaced too far from the framing to hold securely. Seasonal humidity and temperature changes flex the wall slightly, and a marginal fastener that was barely holding on installation day eventually works itself loose.
What kind of drywall should be used in a bathroom?
Moisture-resistant board is the minimum for bathroom walls and ceilings, and any surface with direct water contact, like a tub or shower surround, needs cement board or an equivalent water-rated backer instead. Standard drywall in these areas tends to soften and invite mold well before any visible damage appears.
How long should drywall mud dry before painting?
Plan on at least 24 hours for thin coats under normal conditions, and 48 to 72 hours for thicker coats or humid rooms, since mud cures fastest between 20 and 40 percent relative humidity. In a climate like New Orleans, actual dry times often run longer than the standard estimate, so painting on a fixed schedule instead of checking the compound is a common cause of later cracking.
Can bad drywall installation cause structural problems?
Drywall itself isn’t structural, but poor installation, like skipped fasteners or boards not properly secured to framing, can allow panels to sag or separate over time, which stresses seams and finishes throughout the wall. It won’t compromise the building’s frame, but it does compromise the wall’s finish and durability.
Is it cheaper to fix drywall mistakes myself or hire a professional?
Surface issues like a single nail pop or a small crack are reasonable DIY patches. Widespread problems, stacked seams, boards that don’t match the room’s moisture needs, or mud that never fully cured, usually mean reopening larger sections of wall, and that work is more cost-effective to have done correctly once by a professional crew than to patch repeatedly.
Get It Done Right the First Time
Whether you’re planning new construction or need an honest look at an existing wall, TurnKey Sheetrock brings the same fastener spacing, board selection, and finish standards to every job across the New Orleans area. Contact us or call (504) 285-7483 for a free estimate.