



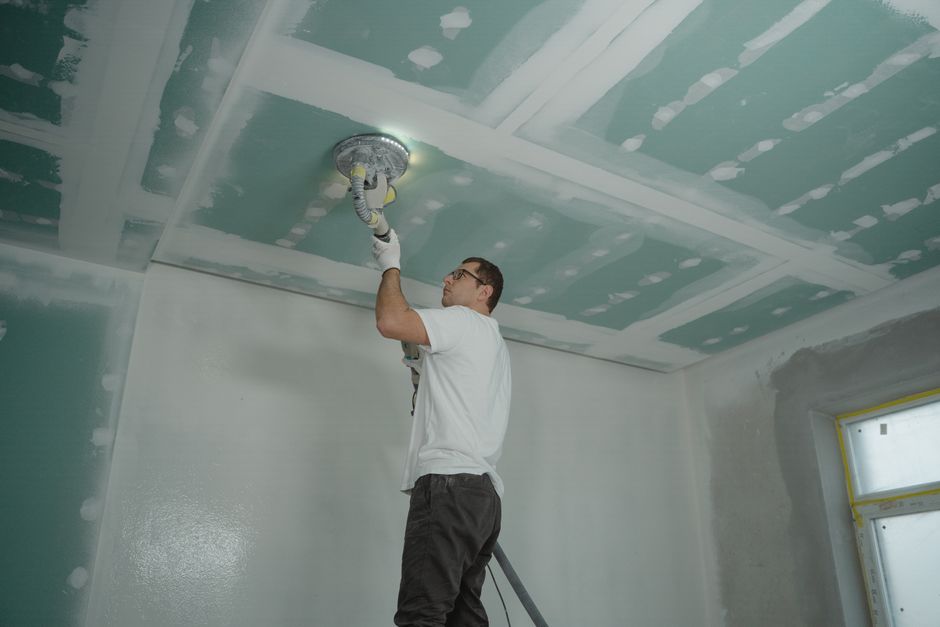
Every smooth wall with no visible joints in a finished home or office started as a series of exposed seams between drywall panels. Getting from raw seams to a wall you’d never guess was built from separate sheets comes down to one process: taping and mudding. It looks simple from the outside (spread some compound, stick on tape, smooth it out), but the sequence, materials, and drying windows all matter, and getting any one of them wrong shows up as a bump, a crack, or a shadow line the moment paint goes on.
What Do Taping and Mudding Actually Mean?
Taping and mudding is the process of covering drywall seams and fastener heads with joint tape and joint compound in layered coats, then sanding each layer smooth so the panel joints disappear under paint. It’s the step between hanging drywall and having a paintable wall. The tape reinforces the seam so it won’t crack as the building settles, and the compound, often called “mud,” builds up a flat transition between panels so the seam doesn’t read as a ridge or a dip once light hits it.
The work happens in stages because joint compound has to dry (or set, depending on the product) between coats. Rushing that sequence is the single most common reason DIY drywall jobs end up with visible seams.
Paper Tape vs. Mesh Tape
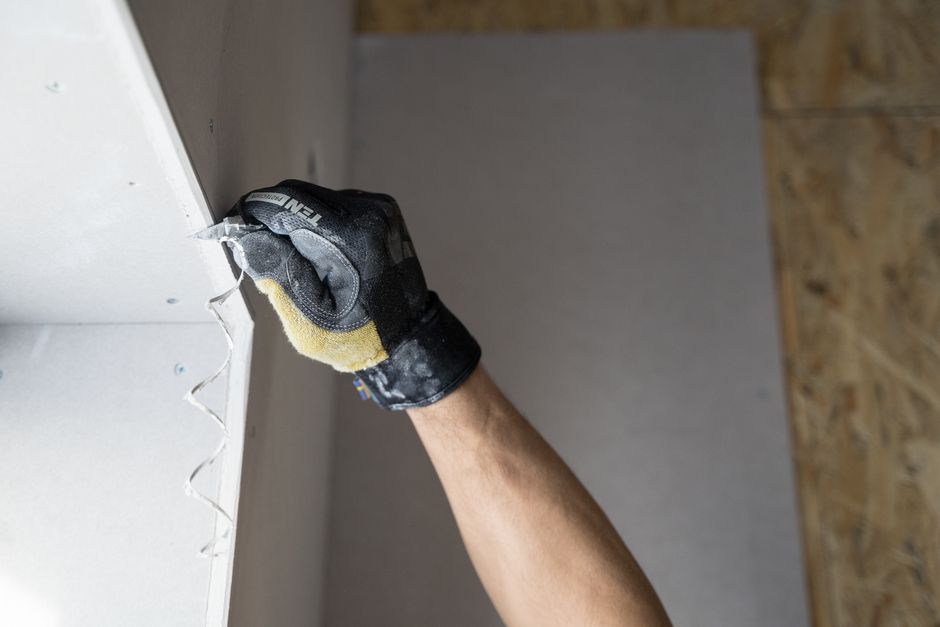
Paper tape is embedded wet into the first coat of compound and is what most professional crews use because its thinness produces the flattest, least visible joint. Mesh tape is self-adhesive fiberglass that sticks directly to the drywall before mud goes over it, and compound seeps through the mesh into the seam beneath.
The tradeoffs aren’t just about ease of use:
- Paper tape creates a stronger, more crack-resistant bond over time, but it requires more skill to embed without air bubbles or wrinkles.
- Mesh tape goes on faster and is mold-resistant, which makes it a common choice in bathrooms, kitchens, and other moisture-prone rooms, but it’s thicker and more prone to cracking on inside corners and butt joints over the long run.
Many crews mix the two: mesh on flat field joints where speed and moisture resistance matter, paper on corners and high-visibility areas where a perfectly flat finish is the priority.
The Three-Coat Compound Process
Standard drywall finishing uses three coats of joint compound, each wider and thinner than the last, with sanding between coats to taper the seam into an invisible transition. Skipping coats or rushing the taper is what leaves that faint “shadowing” you sometimes see on walls under raking light.
- Tape coat. A thin layer of mud goes down, the tape is embedded into it, and excess compound is scraped off, leaving just enough to bond the tape to the board.
- Fill coat. Once the tape coat is fully dry, a second, wider coat covers the tape and begins building the flat plane across the joint.
- Finish coat. The widest, thinnest coat feathers the edges out even further, so the seam blends into the surrounding drywall with no visible edge.
Screw and nail heads get the same three-coat treatment, dabbed and covered separately from the seams. After the final coat dries, the entire surface is sanded, by hand or with a pole sander, to knock down ridges and tool marks before priming.
Drying Time Between Coats, and Why Humidity Changes It
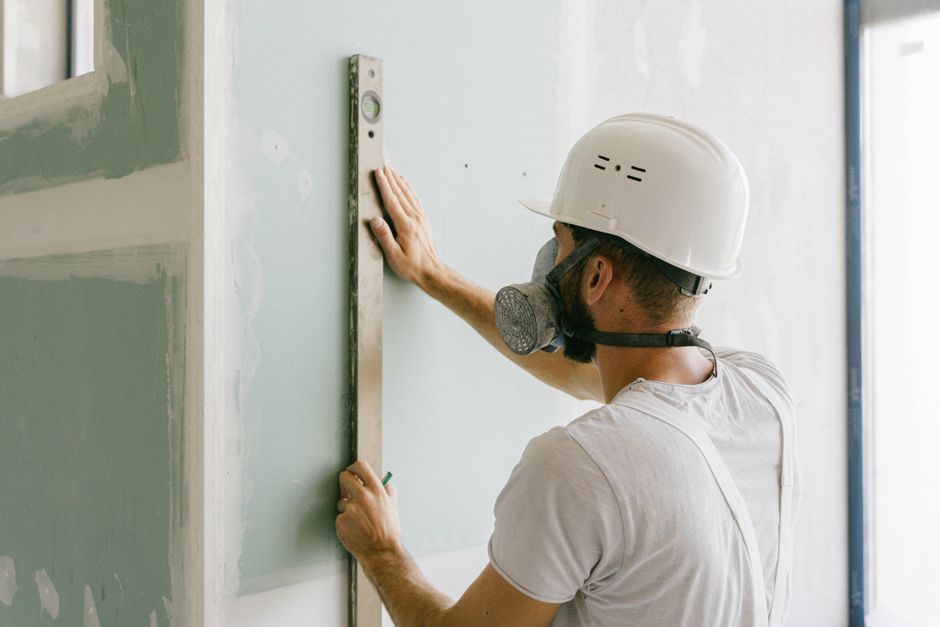
Most pre-mixed joint compound needs 12 to 24 hours to dry fully between coats, and that window stretches in high-humidity conditions or poorly ventilated rooms. The compound doesn’t cure until the water in it evaporates, so anything that slows evaporation, including humidity, cool temperatures, and still air, extends the schedule.
The ideal drying environment sits around 65–80°F with 20–40% relative humidity. In a New Orleans summer, indoor humidity regularly runs well above that range unless the space is actively conditioned, which is why crews working here lean on dehumidifiers, fans, and HVAC to keep a job on schedule instead of guessing at dry times. Sanding or coating over compound that isn’t fully dry traps moisture under the next layer, and that’s a direct path to bubbling, cracking, or soft spots that show up weeks later.
Fast-setting “hot mud” compounds are the alternative when a schedule is tight; some formulations set in as little as 20 to 90 minutes. They’re less forgiving to work with, though, and are typically reserved for pros who can move fast before the material hardens on the tools.
Common DIY Mistakes That Show Up After Paint
The mistakes that ruin a mudding job are almost never visible until primer or paint goes on, which is why an experienced eye during the process matters more than the tools used. The most common ones:
- Visible seams or ridges from compound that wasn’t feathered wide enough on the finish coat.
- Bubbling or lifted tape caused by embedding tape into mud that was too thin, too dry, or applied with trapped air underneath.
- Cracking along joints months later, usually from rushing dry time, over-thinning the compound, or using the wrong tape type for the location.
- Uneven texture or sheen after painting, caused by inconsistent sanding that leaves some areas over-sanded (exposing paper) and others under-sanded (still showing tool marks).
Most of these aren’t fixable with a quick touch-up. They usually mean cutting back into the joint and redoing part of the taping sequence.
Why Is the Process Worth Getting Right the First Time?
A properly taped and mudded wall should be invisible: no ridges, no shadow lines, no cracks along the seams. That result depends on correct sequencing, the right tape for each joint, and respecting dry times rather than working around them. TurnKey Sheetrock handles drywall installation and repair for homes and businesses across the New Orleans area, including Baton Rouge, Covington, Gretna, Hammond, Harahan, Kenner, LaPlace, Madisonville, Mandeville, Metairie, River Ridge, Slidell, and St. Rose, and finishes every job to a smooth, paint-ready standard rather than cutting corners on dry time.
For a look at how finish quality is graded once mudding is complete, see our breakdown of drywall finish levels 0 through 5.
Frequently Asked Questions
How long does drywall mud need to dry before the next coat?
Most pre-mixed joint compound needs 12 to 24 hours to dry between coats under normal conditions (65–80°F, 20–40% humidity). In humid climates or rooms without good airflow, that window can run longer, so it’s safer to check that the compound is fully hardened and lightened in color before recoating rather than working off a fixed clock.
Is paper tape or mesh tape better for drywall seams?
Paper tape produces a thinner, flatter, more crack-resistant joint and is what most professional finishers use on flat seams and corners. Mesh tape is faster to apply and mold-resistant, which makes it a common pick for bathrooms and other moisture-prone areas, though it’s more prone to cracking over time on high-movement joints.
How many coats of mud does a drywall seam need?
Three coats is standard: a tape coat to embed and bond the tape, a fill coat to build the flat plane, and a finish coat to feather the edges into the surrounding wall. Screw and nail heads get the same three-coat treatment.
Why do I see faint lines on my walls after painting even though the drywall looked smooth?
That’s usually under-feathered compound; the final coat wasn’t spread wide enough to fully blend the seam into the surrounding surface. It shows up under raking light or certain paint sheens even when the wall looked fine before priming.
Can I speed up drying time between coats?
Yes, within limits. Improving ventilation with fans, running a dehumidifier, and applying thinner coats all help compound dry faster and more evenly. Fast-setting “hot mud” compounds are also an option, but they set quickly and are less forgiving for anyone who isn’t experienced with the material.
Does humidity really affect how a mudding job turns out?
Significantly. High humidity slows evaporation, which means coats stay wet longer than they appear, and applying the next coat, or sanding, too soon traps moisture that can cause bubbling or cracking later. This is a bigger factor in the New Orleans area than in drier climates, which is why timing gets adjusted for the season and the room.
Ready to Get Started?
Cutting corners on the taping and mudding process is the fastest way to end up with visible seams or cracks down the road. TurnKey Sheetrock brings the right materials and the patience to respect dry times on every job, residential or commercial, across the greater New Orleans area.
Call (504) 285-7483 or request a free estimate today.