Wondering how to prepare your walls for drywall? Follow these key steps for success.
First, check your walls for strength to ensure a solid base. Next, plan your drywall layout to visualize the final look, making installation easier. Use the right tools to work efficiently. Cut and secure the drywall carefully for a professional finish. Be aware of common mistakes to save time and avoid frustration.
Finally, know when to call a pro for the best results. Whether you’re new or experienced, these tips will help you succeed. Ready to transform your walls? Let’s get started with TurnKey SheetRock!
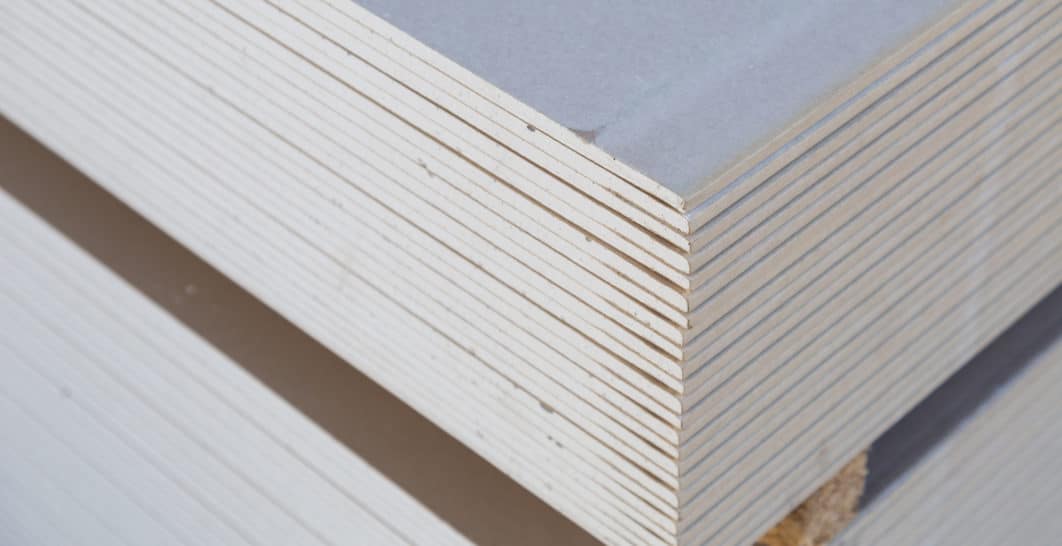
When prepping for drywall installation, knowing the types of drywall is essential. Drywall is widely used in homes and offices due to its versatility. Made from gypsum, it’s affordable and readily available.
Standard sheets measure 4 by 8 feet, but you can find longer sheets for high ceilings. Drywall also offers about 30 minutes of fire protection. When choosing drywall, consider your space and needs to make informed decisions.
 To prep your walls for drywall, having the right tools is essential. Start with drywall knives, which are better than regular putty knives for applying joint compounds and ensuring a smooth finish. Next, use a jigsaw for precise cuts around outlets and switches, thanks to its sharp tip and coarse teeth.
For sanding, drywall sanding sheets come in coarse mesh and regular sandpaper; the mesh is excellent for dust control. Don’t forget a drywall T-square, which helps you cut sheets accurately.
When it comes to screws, space them 30 to 40 cm apart for stability, and use a cordless drill for convenience. For 1/2-inch drywall, 1 5/8-inch screws are ideal, while 1 1/4-inch screws work well too. In the US, keep screws 12 to 16 inches apart for a secure installation.
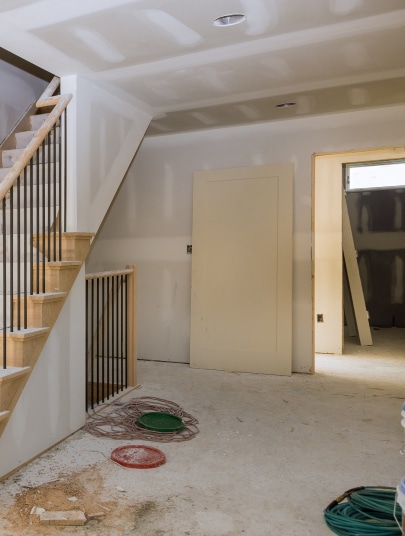
Getting your walls ready for drywall involves a few key steps to ensure everything goes smoothly. Let’s get into the details.
Before hanging your drywall, check the electrical and plumbing lines. This is like preparing a canvas for a painting. Make sure all wires and pipes are secure to avoid surprises later.
If you find loose wires or leaks, fix them now to prevent cutting into the drywall later. Also, map out where these lines are to avoid damaging them when attaching the drywall. Taking these extra steps can save you a lot of trouble in the long run.
Ensure your drywall framing is strong. Just like a picture needs a solid hook, drywall needs secure studs. Check that they’re evenly spaced and mark their locations on the ceiling panels for perfect alignment.
If you’re in a cold area, remember to add a vapor barrier to prevent moisture damage. Each 4-by-8 sheet costs about $10 to $15. It’s crucial to do it right the first time, which is why many people hire professionals to avoid costly mistakes.
Before starting your drywall installation, figure out how much you’ll need. Measure your walls to find the square footage by multiplying height and width. Drywall sheets are usually 4 feet by 8 feet, so divide the total square footage by 32 to get the number of sheets. Add about 10% extra for mistakes or future repairs.
When laying the drywall, use a horizontal layout for a smoother finish and leave a ½” gap above the floor to prevent moisture. Hang full sheets in a row for strength. If allowed, use Trim-Tex Buttboard for easier installation. For corners, install one side with a slight overhang to simplify finishing.
Dealing with uneven studs can be tough, but laser leveling systems can help. They show you where the highs and lows are, making it easier to hang drywall flush against the studs for a smooth finish.
Before starting, mark where you want to frame to avoid mistakes—this simple step does a lot of the work for you. When handling heavy panels, especially on tall walls, use long panels laid horizontally for better support. Prefabricated panels can be lifesavers for tricky angles, and if you want soundproofing, invest in acoustic drywall for peace.
Cutting around outlets or pipes is easier if you leave 1 inch of exposed framing at corners. With practice, these tasks will become second nature, and soon you’ll take pride in your DIY walls!
 Tackling a drywall project can be challenging, but avoiding common mistakes will save you time and money. Alignment errors often occur, making walls uneven.
To prevent this, ensure you have a level surface and mark ceiling joists on the top plate for proper alignment. Use 12-foot sheets to reduce seams and speed up the process; if your wall is 8 feet or taller, consider 54-inch-wide sheets to eliminate extra joints. Securely fasten the drywall to prevent sagging—if your frame feels weak, add a 2×4 for support.
Finally, seal patched areas with primer to ensure smooth paint application. Remember, 70% of DIYers make costly mistakes, so plan wisely and invest in quality materials.
Installing drywall can get tricky, especially with odd angles or high ceilings. If you face challenges, it’s best to call professionals. They have the tools and experience to handle tough jobs quickly and ensure smooth walls. DIY can lead to headaches, like running out of materials mid-project.
Hiring a pro saves you time and stress. While DIY might seem cheaper, it can lead to costly mistakes. Many people end up with subpar finishes. Unless you’re ready for repairs right after, hiring a professional is smart. They guarantee quality work every time.
Get ready to prep for drywall! It’s not just paper and gypsum; you need the right type, tools, and a clear space. Avoid surprises by planning your layout and fixing potential issues. If it gets tricky, don’t hesitate to call the pros. You want those walls to look great, not messy. So, roll up your sleeves and get started! Need help? TurnKey SheetRock is here to offer expert assistance. Let’s get those walls up!