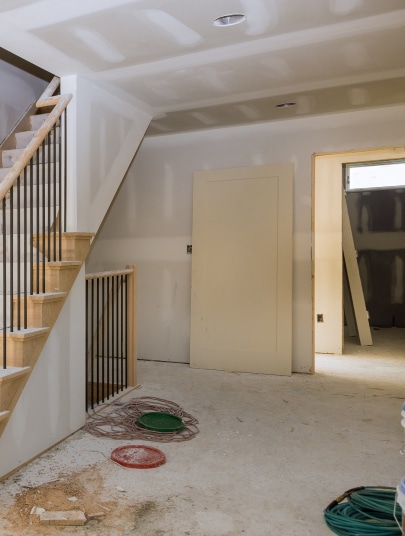
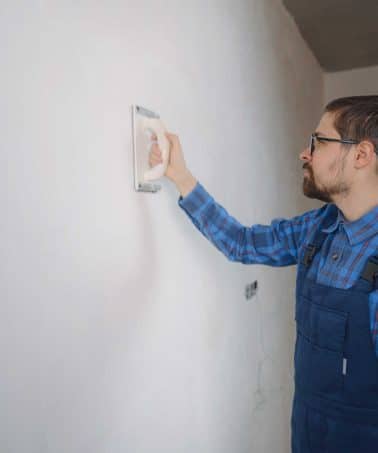
Drywall finish levels are a 0 to 5 rating scale from the Gypsum Association’s GA-214 standard. Each level describes how far joints, corners, and screw heads are taped, coated, and sanded before paint or another decoration goes on. Level 0 means no finishing at all, Level 4 is the norm for painted walls in homes, and Level 5 adds a full skim coat for gloss paint and harsh lighting.
Hanging drywall is only half the job. The taping and coating work that follows decides whether a wall looks smooth under paint or shows every seam and screw head. To keep builders, painters, and inspectors on the same page, the construction industry rates that work on a scale of 0 to 5.
These ratings are called drywall finish levels, and they appear in bids, blueprints, and inspection reports across the country. At TurnKey Sheetrock, our crews work to these levels every day on homes and commercial buildings around Southeast Louisiana.
This guide explains what each level includes, where it belongs, and how to choose the right one for your project. Once you know the scale, you can read any drywall quote and understand exactly what you are paying for.
The levels are defined in GA-214, a standard published by the Gypsum Association. The current edition, GA-214-2021, was released in 2021 and covers gypsum board along with glass mat and fiber-reinforced gypsum panels. Architects and contractors treat it as the industry rulebook for finishing quality.
Before the standard existed, phrases like “paint ready” or “smooth finish” meant different things to different crews. The numbered scale removed the guesswork. When a spec sheet calls for Level 4, every bidder knows the same coats of joint compound are required.
Each level builds on the one below it. Every step up the scale adds more compound, more sanding, and more labor hours. That is why the level you choose affects both the look of the wall and the price of the work.

Level 0 means the board is hung and nothing more. No tape, no compound, no corner bead. It is specified for temporary construction or when the final decoration has not been decided yet.
Level 1 embeds paper or mesh tape in joint compound at all joints and interior angles. Tool marks and ridges are acceptable, and fastener heads can stay exposed. You will find this level above suspended ceilings, in attics, and in service corridors where fire or smoke control matters more than looks.
Level 2 adds one coat of compound over the tape, fastener heads, and accessories. It suits garages, warehouses, and storage areas, and it is the common call-out when drywall serves as a backer for tile. Results at this stage still depend on good prep, so review our guide on how to prepare a wall for drywall installation before the first sheet goes up.
Level 3 adds a second coat of compound over joints and angles, with fasteners and accessories covered by two coats. It is meant for walls that will receive medium or heavy texture, or heavy-grade commercial wallcovering. Decorative sprayed textures deserve their own article, but most of them sit on top of Level 3 work.
Level 4 is the workhorse of residential construction. It adds another coat over everything, then the surface is sanded smooth. Flat and matte paints, light textures, and standard wallpaper all perform well over a Level 4 finish, which is why bedrooms, hallways, and living rooms usually stop here.
Reaching Level 4 without headaches starts with straight framing and tight fasteners. A careful drywall installation keeps joints flat, so the finisher spends less time fighting humps and gaps later.

Level 5 includes everything in Level 4 plus a skim coat of joint compound over the entire surface. That thin, continuous layer evens out the difference in texture between bare paper and finished joints. The result is one uniform surface from corner to corner.
This level is specified where critical lighting occurs, meaning strong light that rakes across a wall at a sharp angle. Tall foyers, walls with big windows, and ceilings under recessed fixtures all qualify. Gloss, semi-gloss, and dark paints also demand Level 5, because sheen and deep color highlight every ripple.
Without the skim coat, joints can “photograph” through the paint, showing up as faint bands under certain light. A Level 5 surface avoids that problem and stays attractive for years, especially when paired with the habits in our drywall tips for longevity and durability.
Match the level to the light, the paint, and the room’s purpose. A storage closet does fine at Level 2, while a dining room with pendant lights and satin paint may justify Level 5. For most painted rooms, Level 4 hits the sweet spot between cost and appearance.
Mixing levels within one project is normal and smart. Many homeowners specify Level 5 for the great room and main hallway, then Level 4 for bedrooms and Level 2 in the garage. Write each level into the contract by room so there is no confusion on installation day.
Repairs follow the same logic. A patch must be finished to the same level as the surrounding wall, or it will stand out every time the sun hits it. If you are seeing cracks, nail pops, or water stains, our drywall repair signs guide explains what each symptom means.
Not sure which level your space needs? The team behind our drywall finishes service can walk each room with you and recommend a level based on lighting and paint plans.
Higher levels cost more because they take more coats, more sanding, and more skilled labor. A Level 5 skim coat can add a full extra pass across every wall in the house. On a large project, that difference shows up clearly in the schedule and the invoice.
Spending up is worth it in the right places. Fixing a joint that photographs through fresh paint costs far more than skim coating before the painter arrives. Prioritize Level 5 in showcase areas and keep Level 4 everywhere else.
Whatever level you choose, the finish only stays sharp if the wall stays healthy. Simple habits like controlling humidity and touching up dings go a long way, and our post on how to maintain drywall in your home breaks them down. Good care protects the money you invested in the finish.
Level 4 is the most common finish for painted walls and ceilings in homes. It covers joints and fasteners with enough coats of joint compound to look smooth under flat or matte paint. Most builders treat it as the default unless the spec says otherwise.
A Level 5 finish is a Level 4 finish plus a thin skim coat of joint compound over the entire surface. It creates one uniform texture so joints and fasteners do not show through paint. It is the top finish level in the GA-214 standard.
Critical lighting is strong light that travels across a wall or ceiling at a low angle, exaggerating small bumps and ridges. Large windows, wall sconces, and recessed fixtures often create it. Surfaces in critical lighting usually need a Level 5 finish to look flat.
Level 2 is the typical call-out when drywall acts as a substrate for tile. The tape and single coat of compound give the tile adhesive a sound base without wasted finishing work. Always confirm the requirement with your tile manufacturer’s instructions.
No, Level 3 is not intended for direct painting. It is designed to sit under medium or heavy texture, which hides the remaining tool marks. Paint applied straight over Level 3 will show joints, so plan on Level 4 or higher for painted walls.
Yes, in rooms with gloss paint, dark colors, or strong natural light. The skim coat prevents joint shadows that are expensive to fix after painting. In low-visibility rooms with flat paint, Level 4 usually delivers the same visual result for less money.
Ready to get the right finish on your next project? Reach out through our contact page or call (504) 285-7483 for a free on-site estimate anywhere in the New Orleans area, from Metairie and Kenner to Covington, Slidell, and Baton Rouge.



 TurnKey Sheetrock